Create Account and Login
Introduction
This guide will walk you through the process of creating your Addavox account and logging in to access the platform's features.
Step 2: Sign Up Process
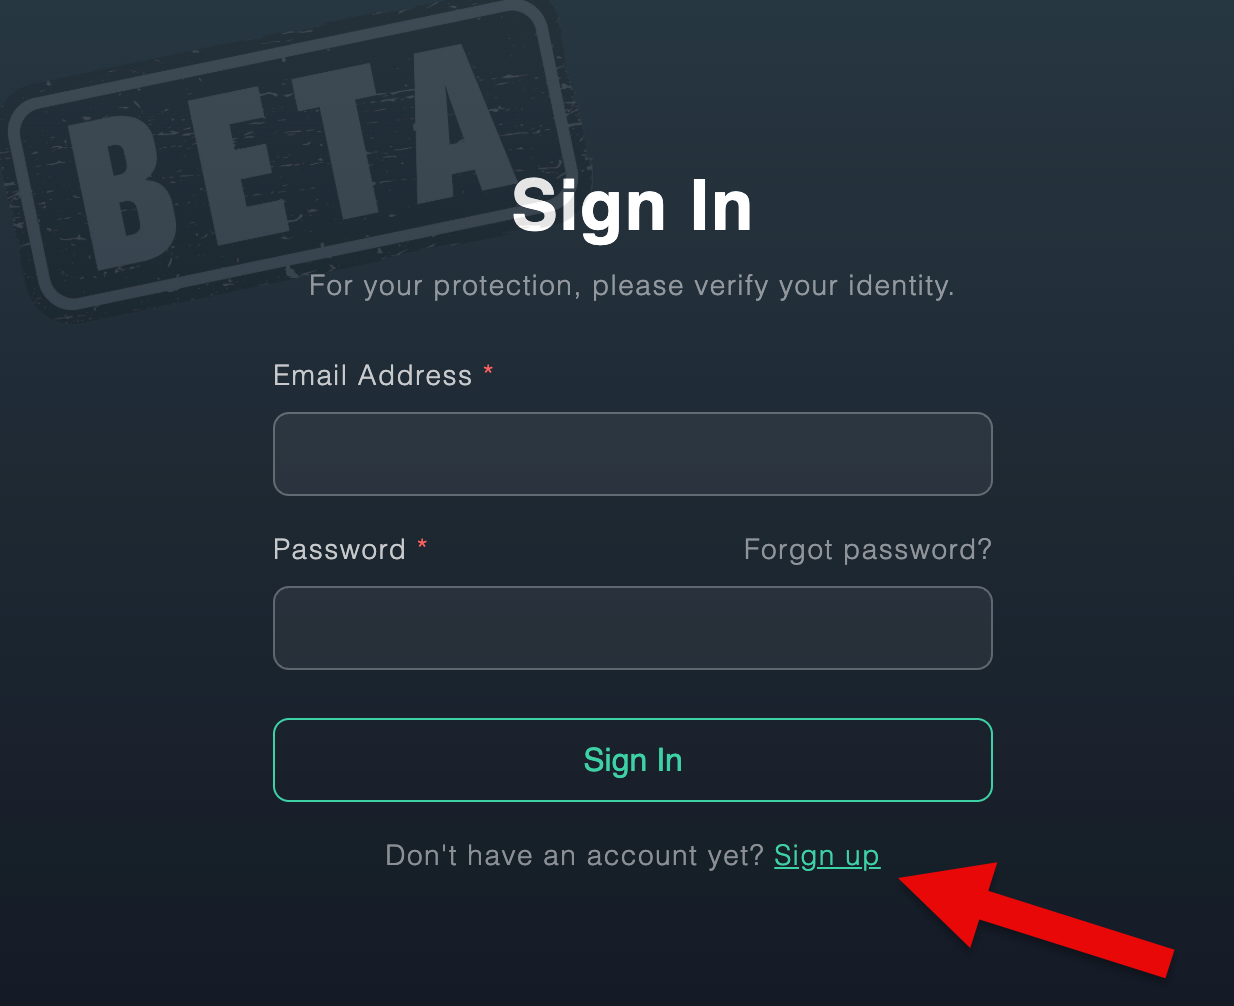
- Click on Sign up at the bottom of the sign-in screen
- Complete the sign-up form with the following information:
- First Name
- Last Name
- Email Address
- Password
- Confirm Password
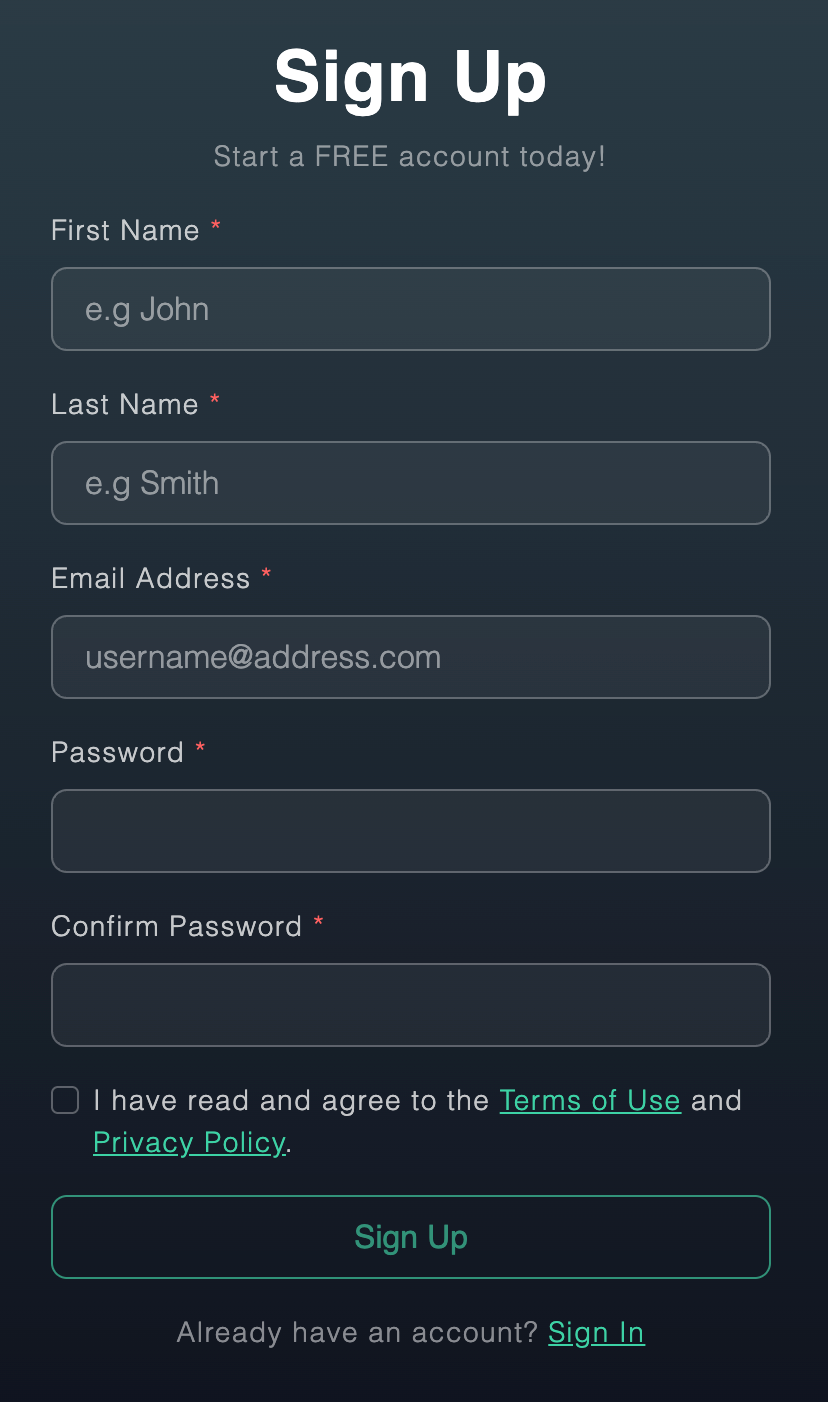
- Review and agree to the Terms of Use and Privacy Policy
- Click the Sign Up button to complete your registration
Note: Make sure to use a valid email address as you'll need to verify your account.
Step 3: Email Verification
- After clicking Sign Up, you'll see a screen prompting you to verify your email address
- Check your email inbox for a verification message from Addavox
- If you don't receive the email:
- Check your spam folder
- Click the Resend Email button to have another verification email sent
Important: You must verify your email address before you can access your Addavox account.
- After confirming your email, click the Log In button
- You will be automatically logged into your new Addavox account
- The Home screen of the Addavox app will appear, where you can begin using the platform
Regular Login Process
For all future visits to Addavox, follow these simple steps:
- Visit Addavox.com
- Click the Sign In button
- Enter your credentials:
- Email address
- Password
- Click Sign In to access your account
Tip: Make sure to keep your login credentials secure and never share them with others.


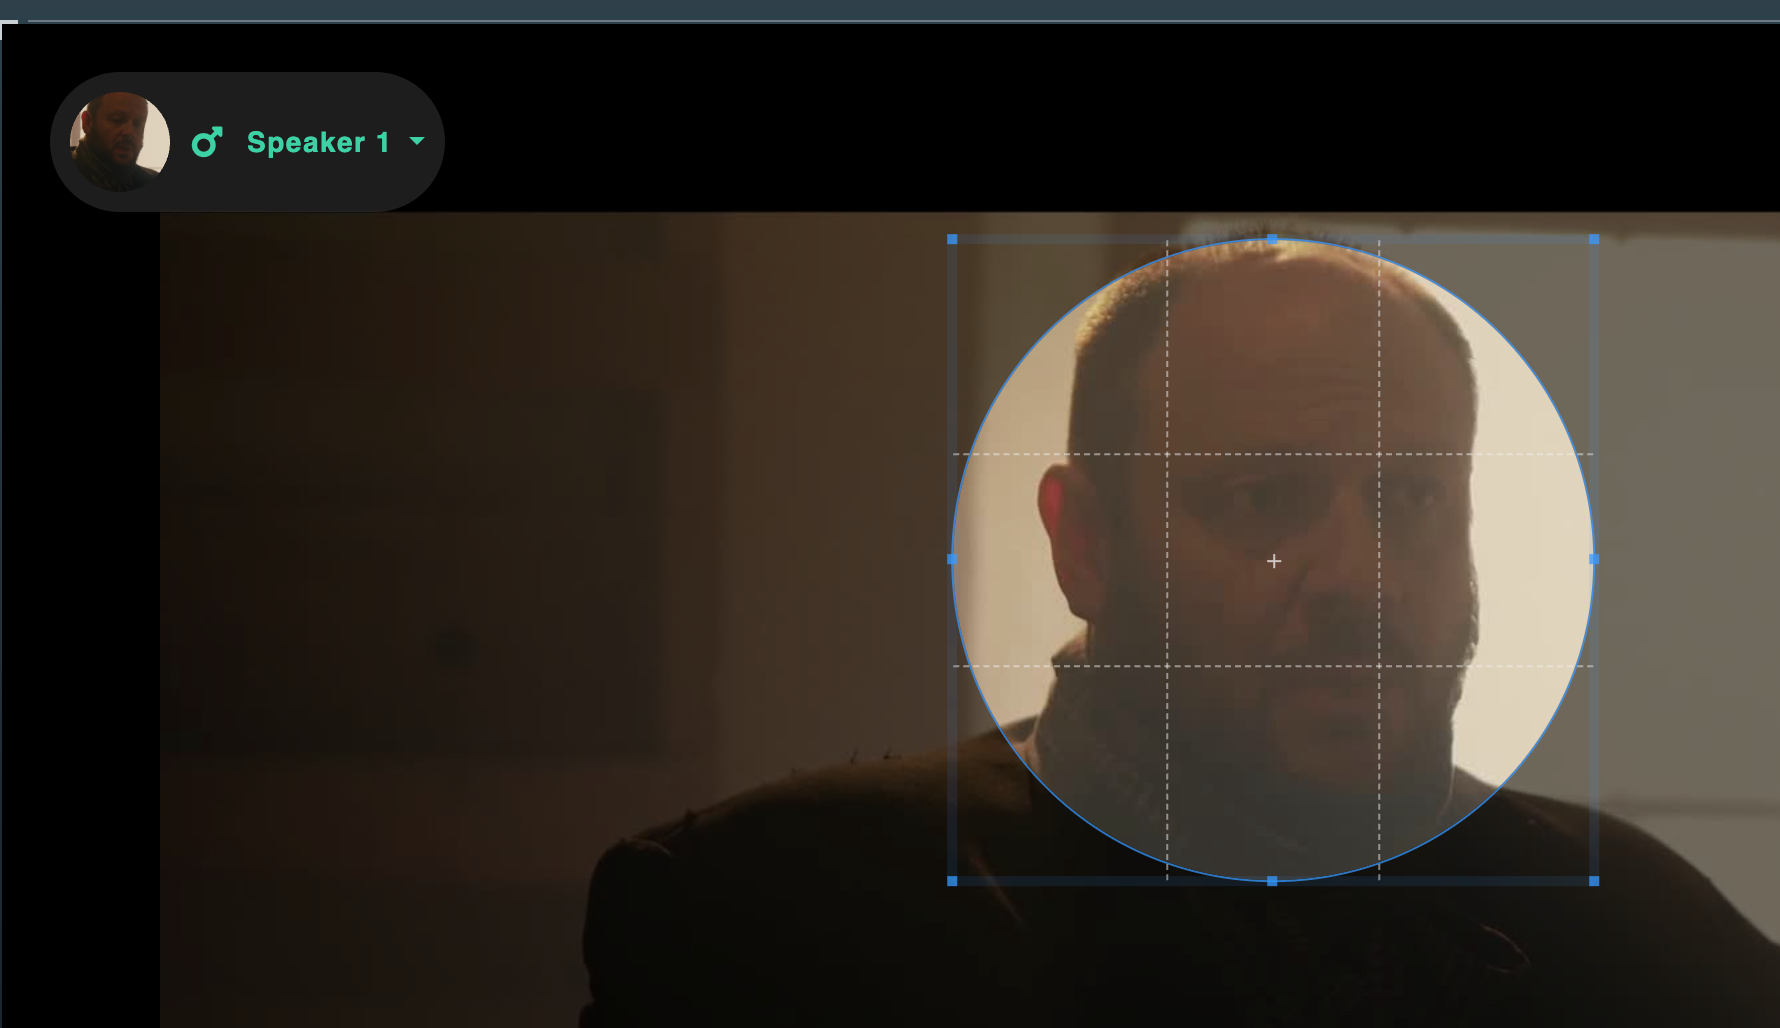
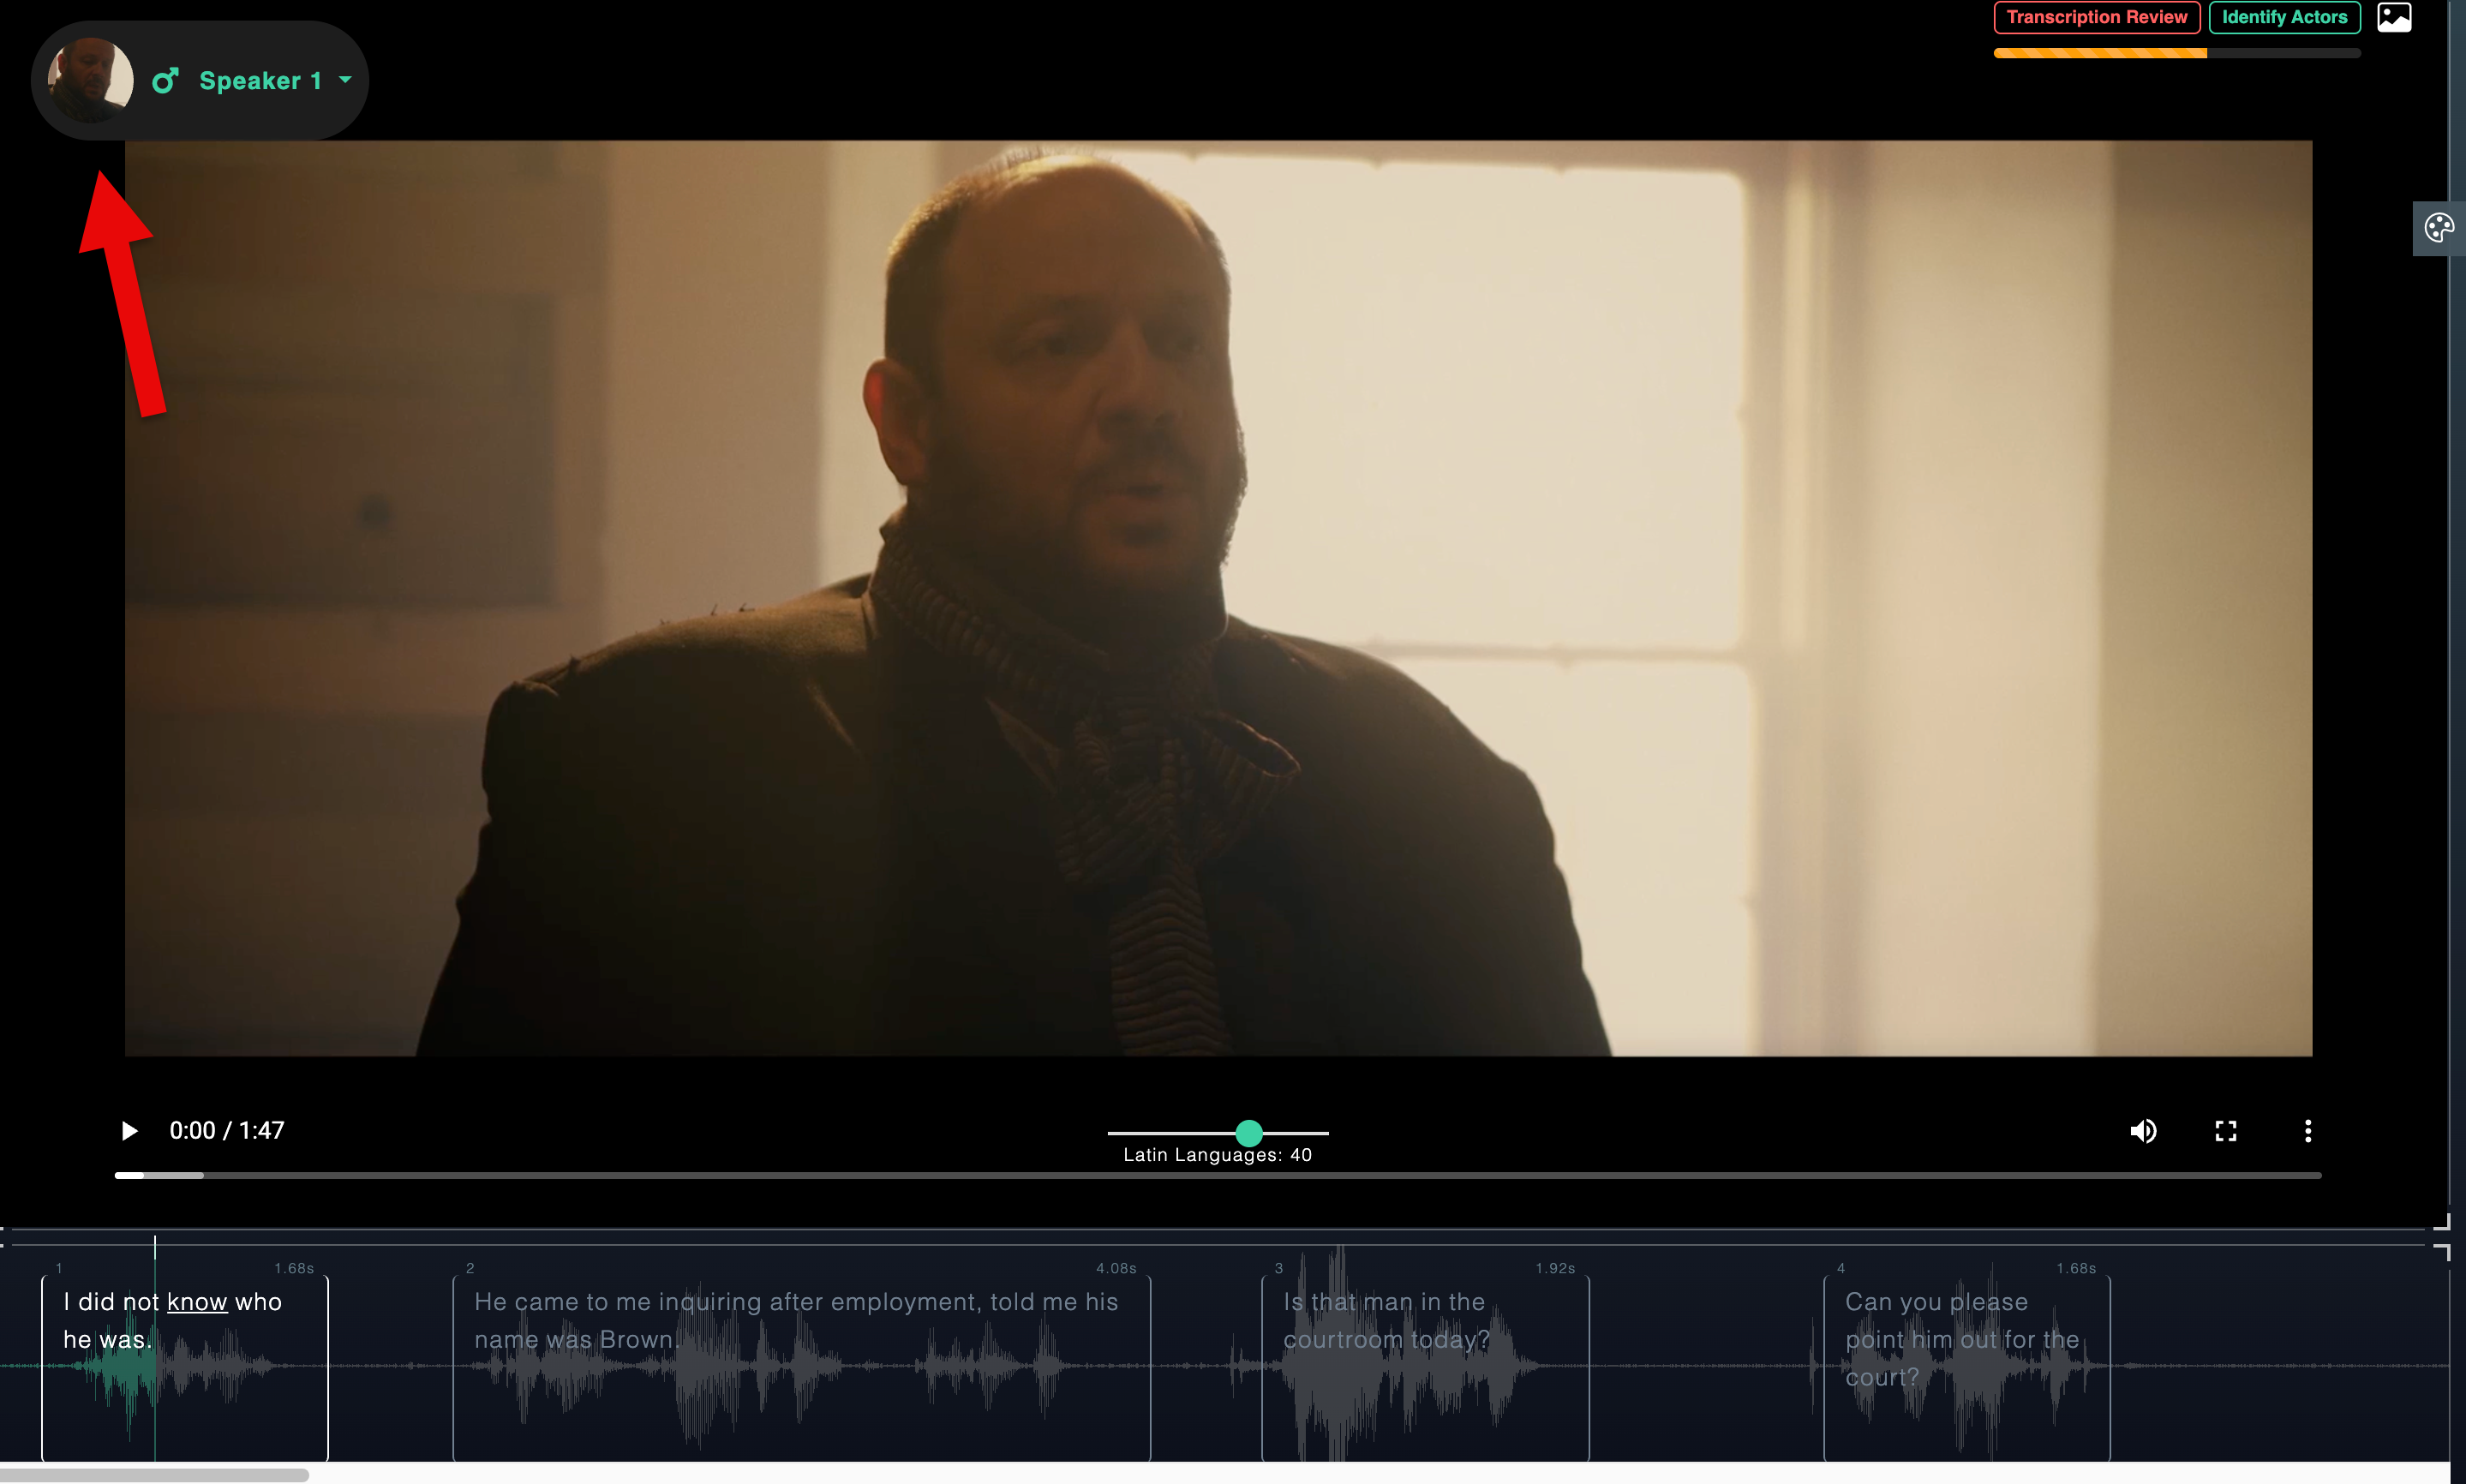
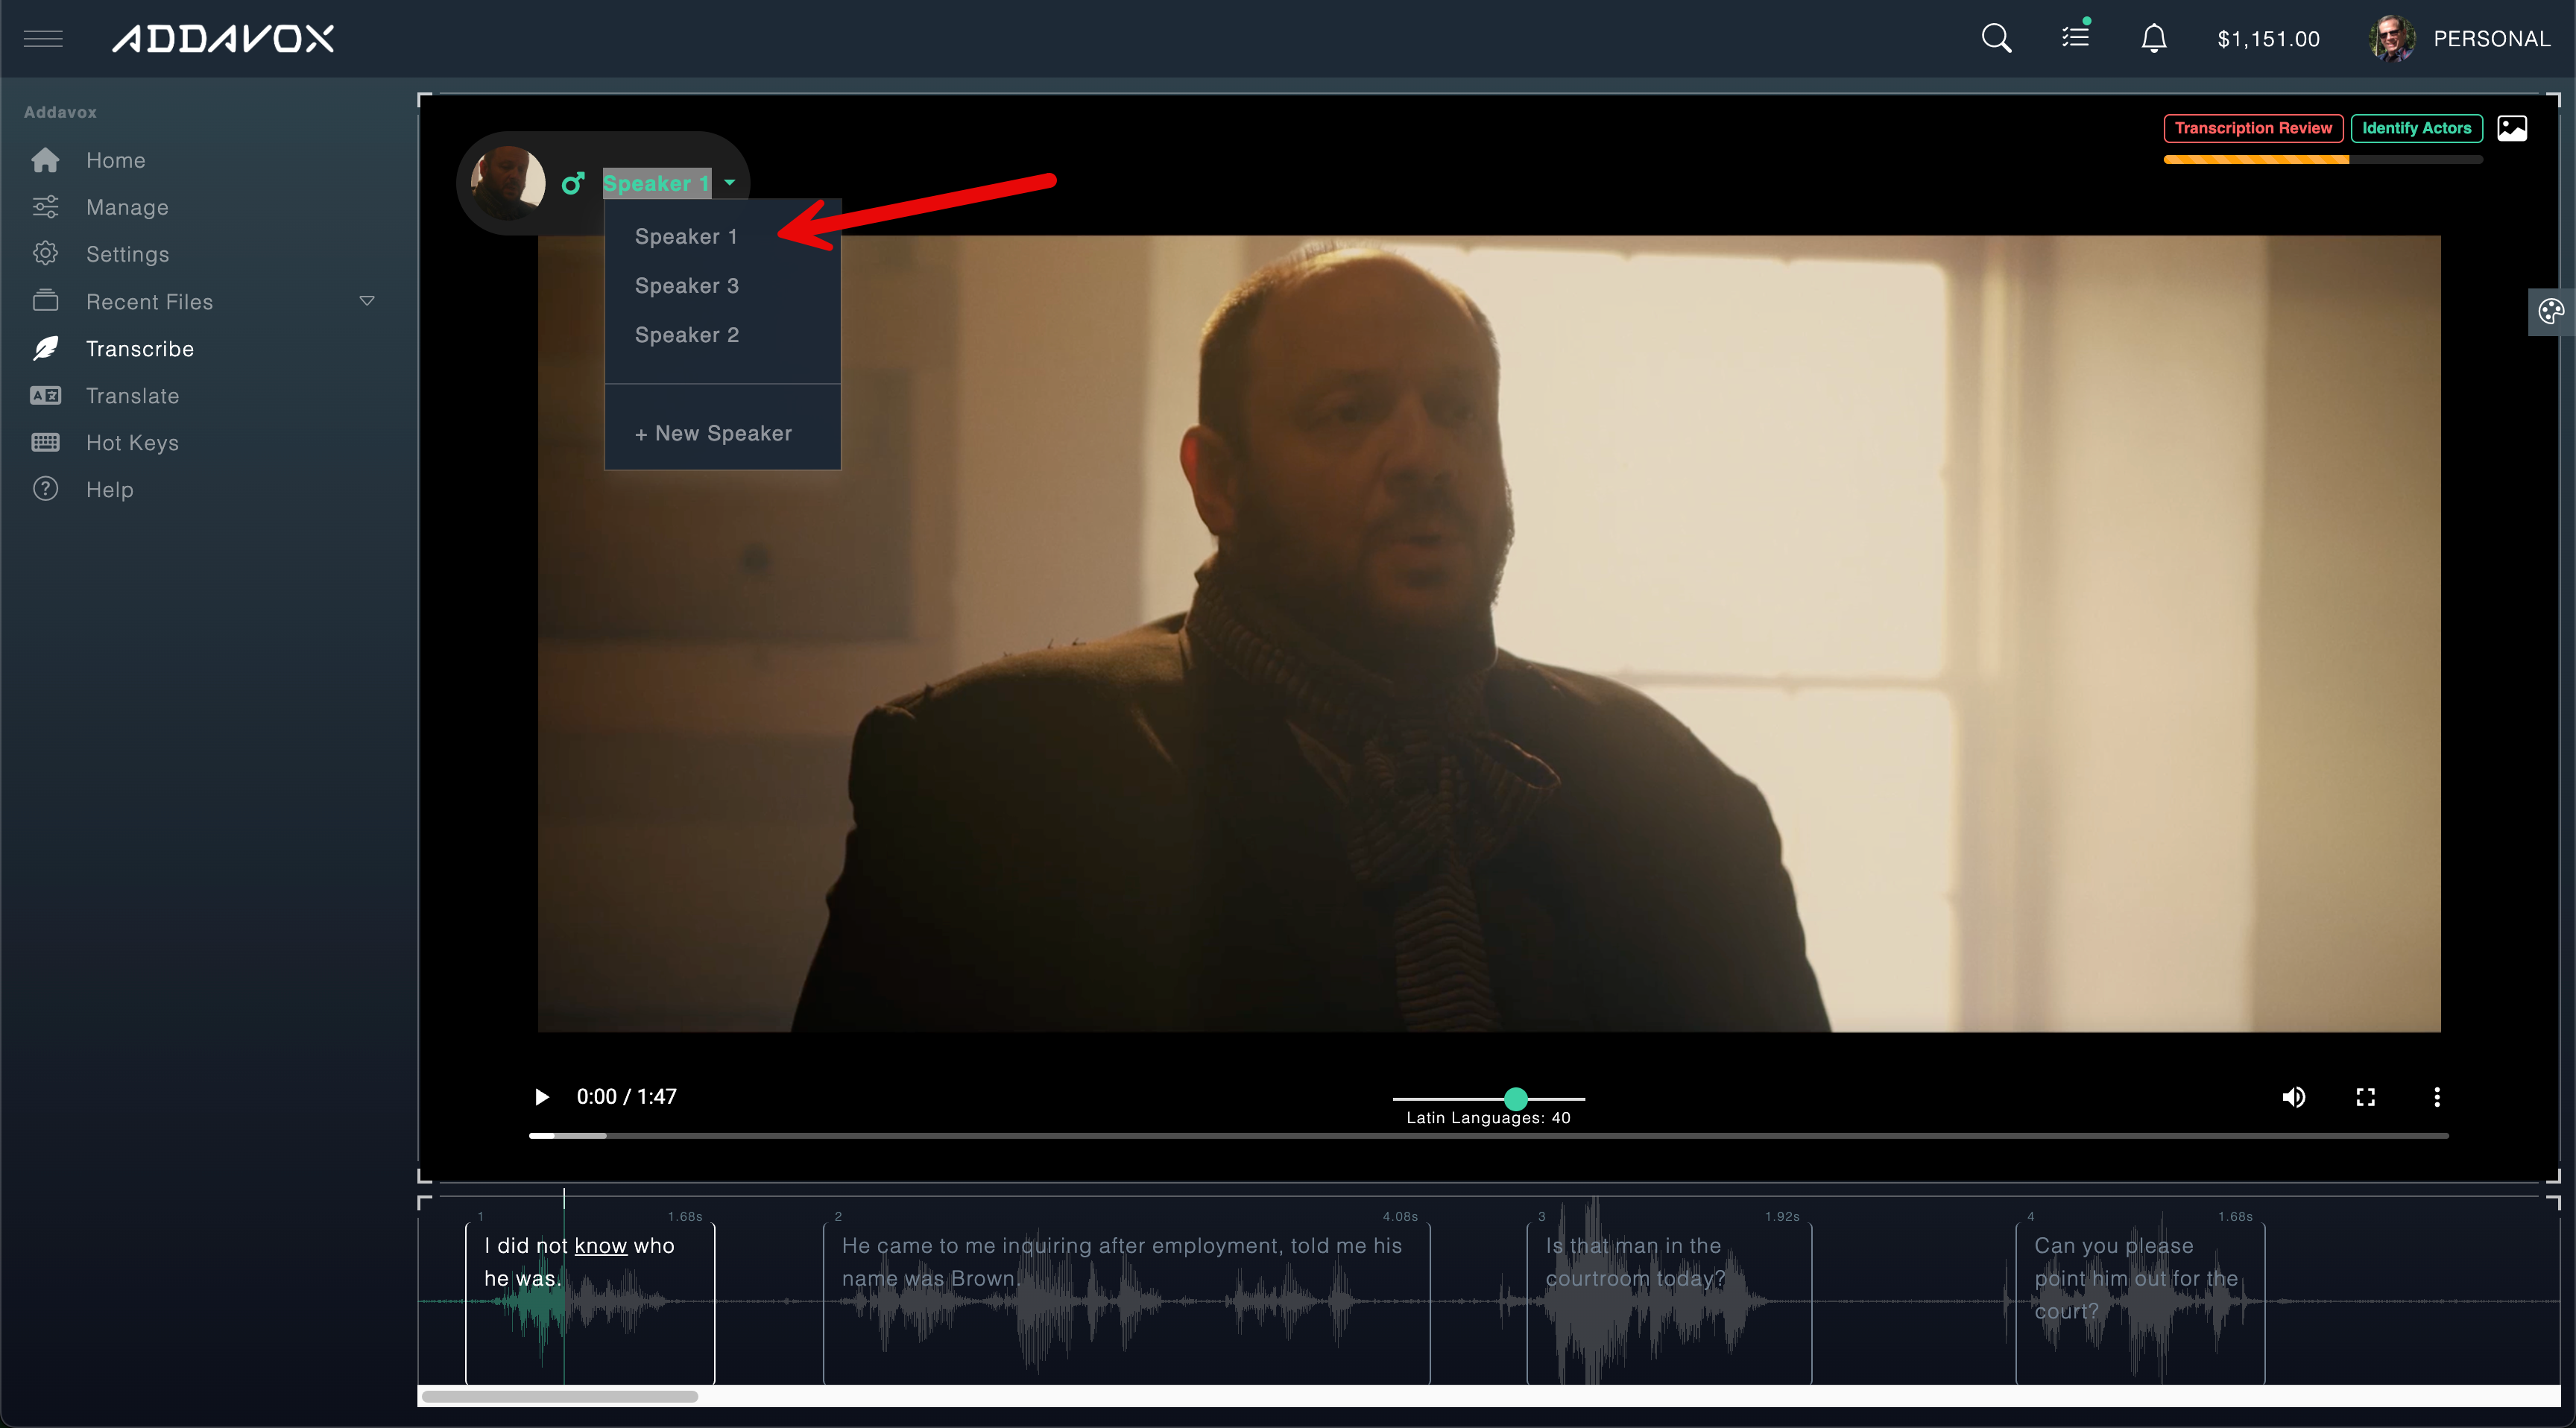
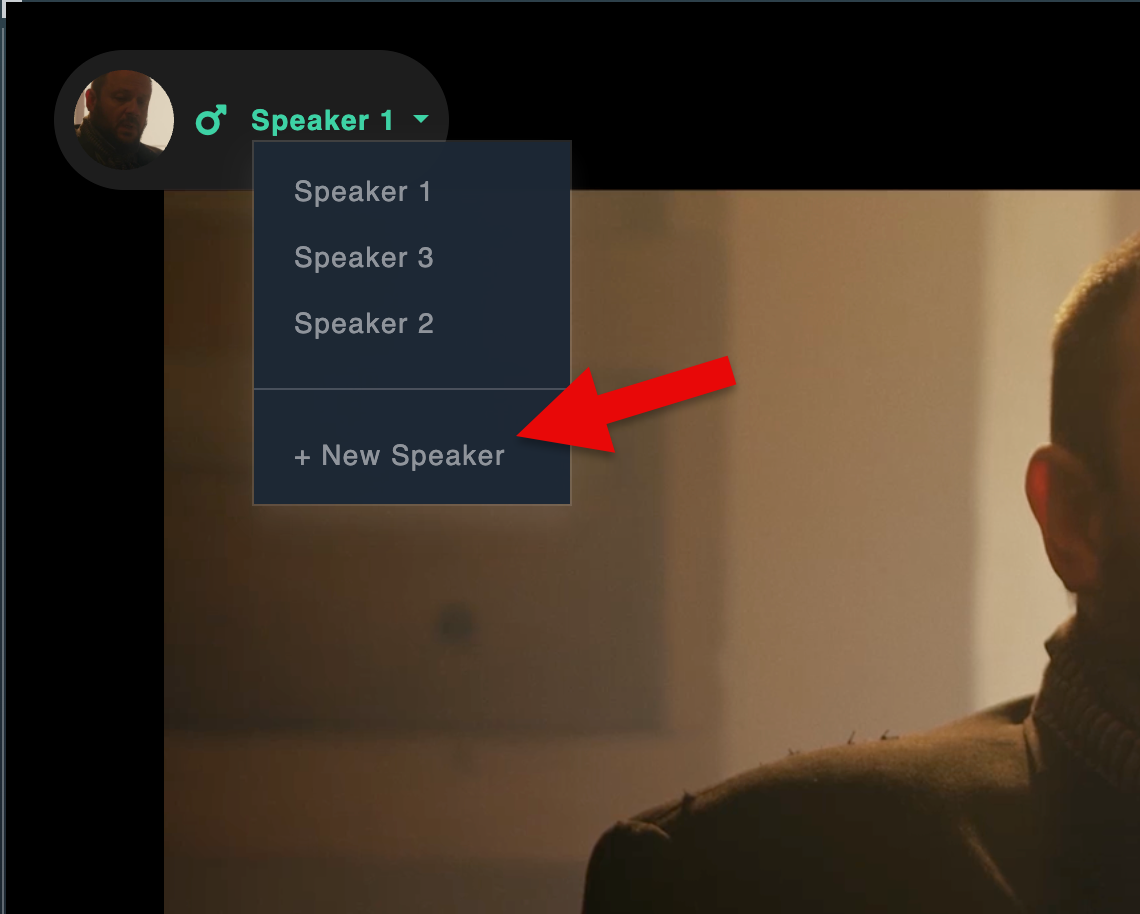
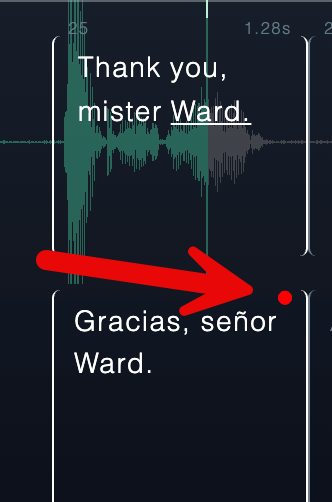
 Synthesized voices
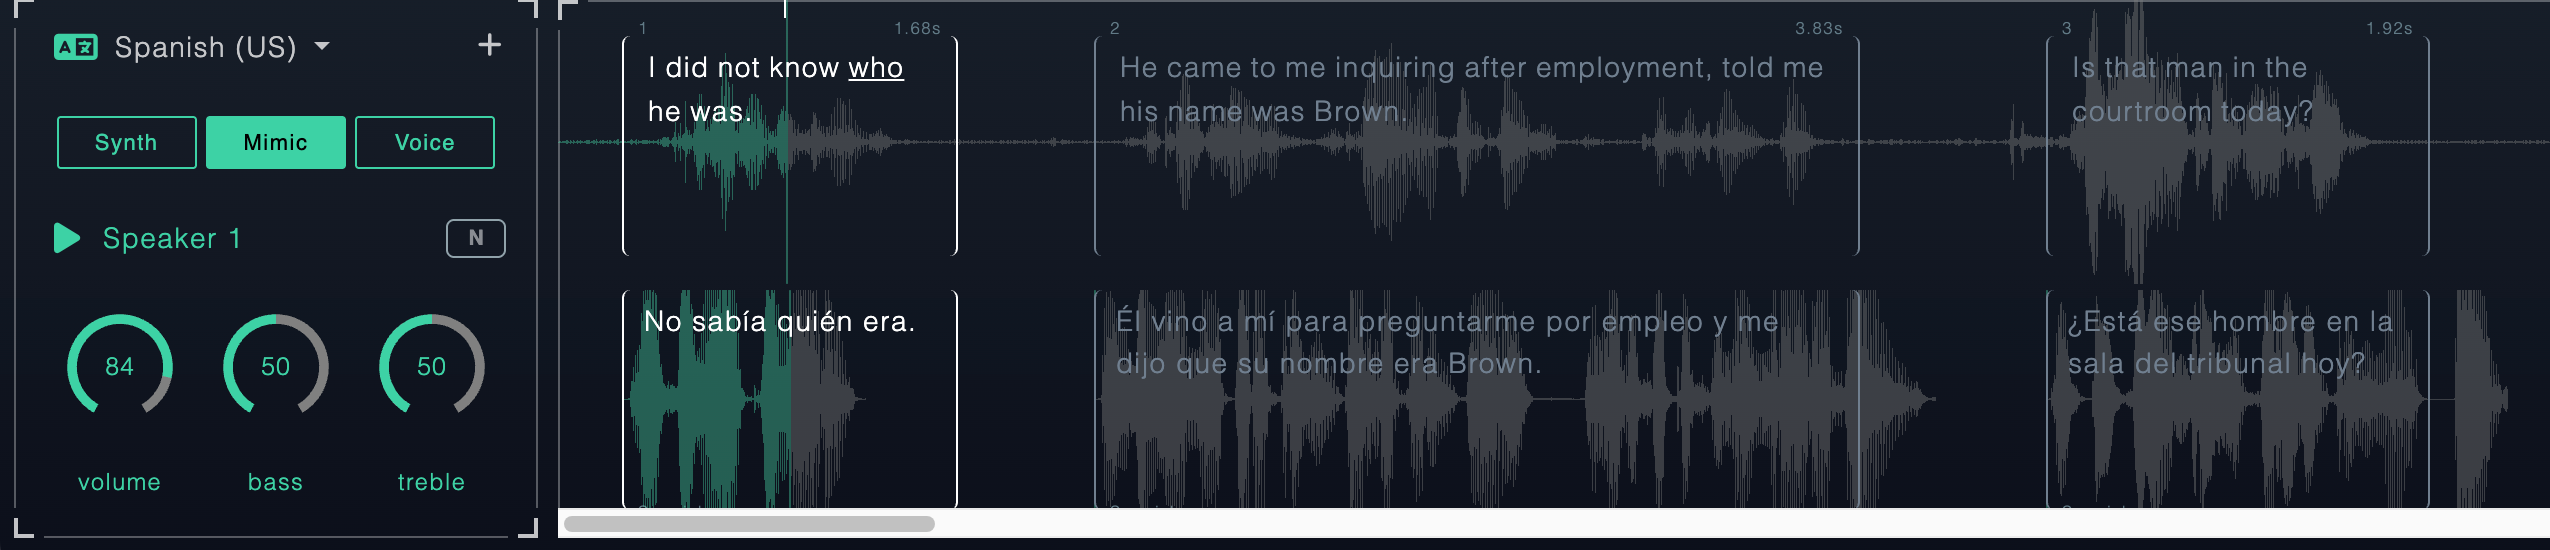
 Mimic voices